Installing a chimney liner is an essential part of any chimney upgrade process and is done for most common reasons, including improving air flow and flue draft, allowing for complete burning of the fuels used for heating, increasing safety by minimizing smoke and gas leakage into the house, bringing a damaged or failed chimney up to code and providing a conduit for smoke from fireplaces, wood-burning and oil or gas fired heating appliances.
Many traditional masonry chimneys are structurally sound but suffer from deterioration caused by exposure to weather conditions or the condensation of water vapor created during burning. This can create problems with flue gasses that cause smoke spillage into rooms above the fireplace which could pose a danger in terms of indoor air pollution. Installing a liner can help protect against such exposure as well as possible carbon monoxide poisoning.
When considering whether to install a liner it’s important to understand what type of material should be used for your particular situation – stainless steel is ideal for most applications and should be specified when installing most types of heating equipment. In other cases, clay or terracotta liners may be appropriate and should provide you with many years of safe operation if properly installed. It’s important to also remember that clay liners need periodic maintenance in order to remain in compliance with local building codes. If you’re thinking about upgrading your current system, make sure you contact an experienced installer who can assess your needs and recommend an appropriate solution tailored specifically to meet your individual requirements.
How to install chimney liner
Installing a chimney liner is a delicate process and should only be done by a qualified, experienced professional. Before beginning any installation, it is important to consider the safety risks involved, such as the potential for flammable materials or carbon monoxide poisoning. This section will discuss the safety precautions necessary when installing a chimney liner.
Wear safety gear
It is essential to wear the appropriate safety gear before attempting any type of chimney repair or installation. The correct safety gear includes safety glasses, hearing protection, and a dust mask, which will prevent you from inhaling soot or other airborne particles. Wear clothing that is suitable for work, such as long pants, a long-sleeved top, and closed-toe shoes. You should also have gloves to protect your hands from any sharp edges or hot surfaces. Lastly, it’s important that you wear a hard hat. All of these pieces of protective wear are necessary for your safety and may help ensure you complete the job successfully.
Make sure the area is well ventilated
Before you begin to install a chimney liner, it is important to ensure the area is well ventilated. Make sure that any affected rooms have open windows and fans turned on. It is also important to wear protective gear such as eye protection and a dust mask to avoid any health risks associated with working in a confined space.
It is also necessary to check for gaps in the chimney liner before you start installing it. If there are any gaps, these need to be sealed before the installation can proceed. In addition, it’s necessary to make sure that the installer follows all safety protocols in terms of how they handle the liners and other necessary materials, as they need to be properly secured prior to installation. Finally, you should always make sure that you are using quality materials when installing a chimney liner so that it can work efficiently and successfully for your home or business.
Materials Needed
Installing a chimney liner is a relatively simple process, but it does require some preparation. Before beginning, make sure you have all the necessary materials and tools on hand. This includes the chimney liner, a hammer drill, a masonry drill bit, a chisel, a sledgehammer, mortar, masonry nails, a measuring tape, and a level. Once you have all the materials, you can begin the installation process.
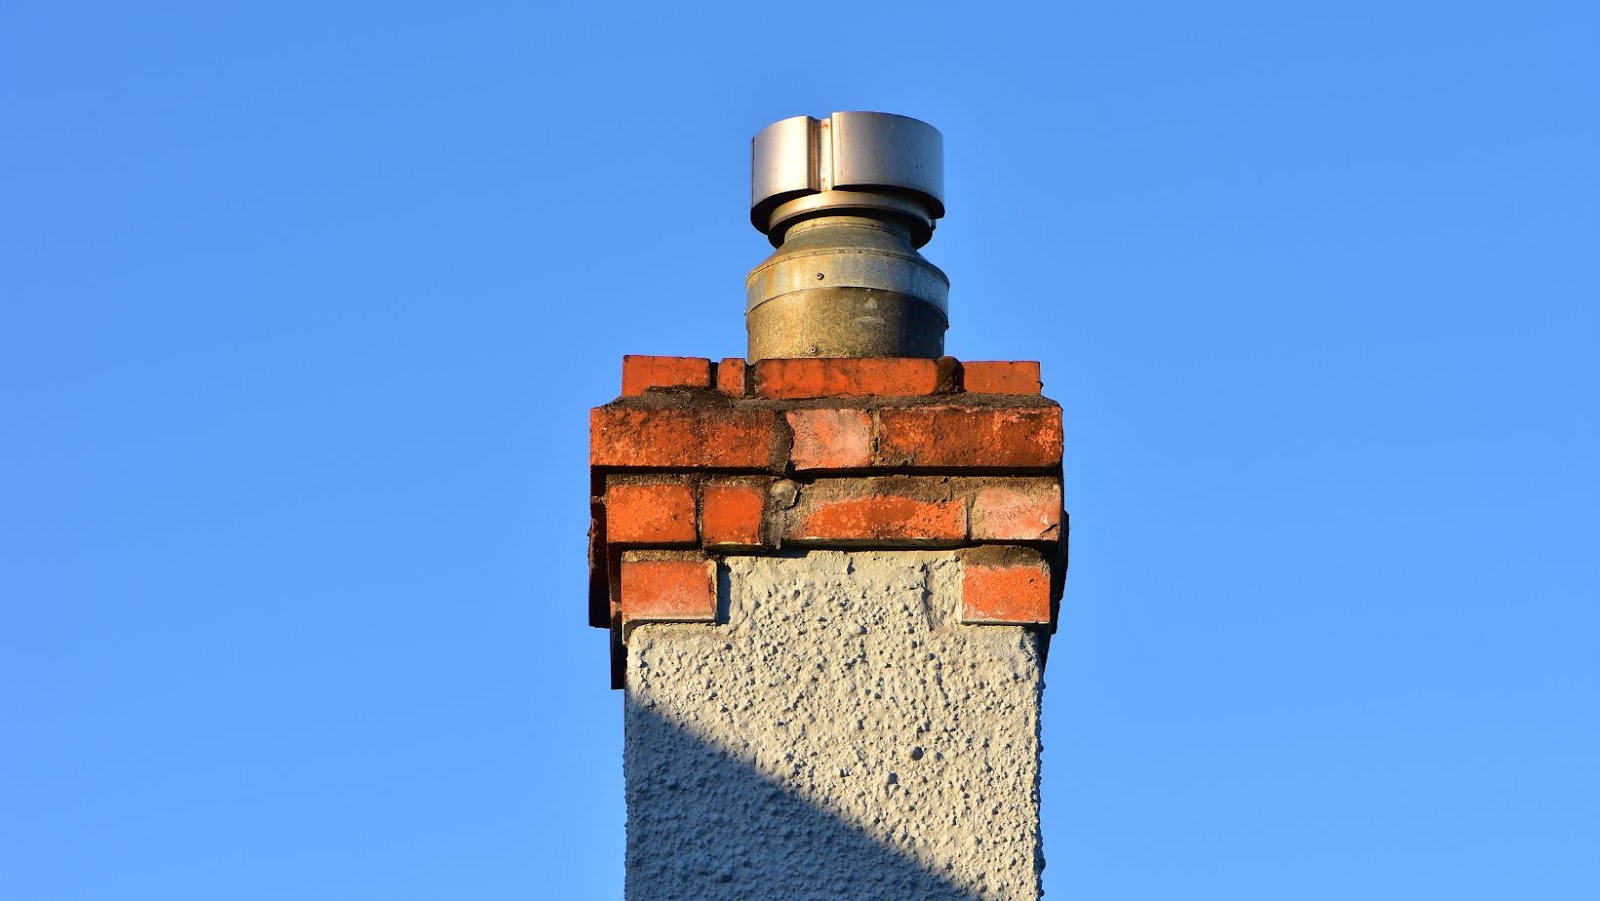
Chimney liner
Installing a chimney liner not only protects the chimney structure, it also increases draw and prevents smoke and gasses from entering your home. While you can install a liner yourself, it’s a job that requires special tools and materials.
Chimney liners come in various lengths and materials, including clay or glazed ceramic tiles, aluminum pipe or flexible stainless steel or aluminum pipe. Depending on the type of system you choose to install, the necessary equipment may vary so be sure to read all directions before beginning the installation process.
The basic materials you will need for installing a chimney liner include:
-A durable venting system with appropriate sleeves
-Mortar mix
-Caulk
-Brush
-Masonry screws
-Chimney cap
-Stepladders or ladders with safety features, such as features to prevent slipping on slick surfaces
Inspecting your existing system is important before making any purchases because some types of liners cannot be installed with existing parts. Be sure to review safety instructions before starting any type of repair job on your home.
Chimney brush
A chimney brush is a necessary tool for installing a chimney liner. It should be adjustable in diameter so that it fits snugly against the walls of the chimney, and it must be constructed with durable bristles that are capable of reaching deep into the crevices of the flu. A chimney brush should also have a detachable extension to allow for deep cleaning. Additionally, for best results, a brass-wired or galvanized steel brush is recommended since these materials resist corrosion and wear over time. Every homeowner should also own a set of rods to complete the installation process. The rods are usually connected together with quick or twist connectors and extend from 5 to 10 feet in length depending on the height of your chimney. This allows you to quickly reach all areas of your chimney without having to climb up and down a ladder each time you need access.
Mortar
For installing a chimney liner, mortar is an essential material to help create an airtight seal between the liner and the chimney walls. Pre-mixed thin-set (or dry pack) mortar is used to fill in any gaps or breaches within the three primary layers of the liner — inner wall, insulation, and outer wall. This mortar should be kept off of areas that need to remain airtight.
Mixing your own thin-set mortar for a chimney liner installation requires Portland cement, lime, and sand with water added according to instructions on the package or from your dealer. To ensure proper bonding between the components you will need 1 part portland cement and 1/2 part lime mixed with 3 parts masonry sand per quart of water. This complete recipe will vary according to quantity needed for the job so be sure to read directions on all packages carefully before mixing your mortar.
If you plan on using the dark version of thin-set you can mix one part portland cement, one part masonry sand, one part lime, 1/2 teaspoon oxide pigment per quart of water. All ingredients should be powdered and added while slowly mixing with water until reaching a thick liquid consistency desired for use between spaces as mentioned above. If a larger area needs filling repeat this process accordingly after allowing each layer to dry completely before proceeding onto the next step or area.
Masonry drill
A masonry drill is a necessary tool for properly installing a chimney liner. Its cylindrical drill bits are made of carbon steel and are often plated in chrome to prevent corrosion, which could result in a weak or cracked drill bit. Proper selecting of the size and type of masonry drill bit is important because it helps ensure that the job will be done correctly.
Size matters when it comes to selecting a masonry drill bit; smaller drill bits are suitable for lighter materials such as bricks and mortar, while larger sizes should be used for harder surfaces such as concrete. The shank size should also match the size of your chosen drill – for example, if you have an 18v cordless impact driver then you’ll need an 18v shank masonry bit.
When choosing the type of masonry bit that’s right for your project, think about how much power you will need to complete it securely – if more power is required, go with the heavier-duty diamond bits; they can withstand higher temperatures which helps ensure longevity and enhanced performance during drilling operations. In addition, carbide-tipped masonry bits are also suitable options due to their increased wear resistance and longer life spans.
Step-by-Step Guide
Installing a chimney liner may seem daunting, but with just a few simple steps, you can complete this job yourself and save money. This guide will walk you through the process of installing a chimney liner, from gathering supplies to sealing the final connections. Be sure to take all necessary safety precautions before beginning this project. Let’s get started!
Measure the chimney
For a successful installation, you need to ensure that the chimney liner is the proper size for your application. If the chimney is only used for an oil-fired appliance, then it should be 6” in diameter and 36” long. For wood-burning appliances, it should be large enough to fit the appliance size plus 4” additional space around all sides. To measure your chimney, use a tape measure or laser thermometer to determine the diameter of your chimney and its length from flue wall to top. If you are lining a masonry or prefabricated metal chimney it is important that you measure the inner surface and use that dimension when sizing your liner. Make sure that there are no cracks, gaps or obstructions in any part of your flue before moving on with installation of liner.
Cut the liner to size
In order to make sure that your liners fit securely in your chimney, you will need to cut them to size. Measuring your flu is the key to getting it right! In order for the liner to work properly, it must extend up your chimney at least 3 feet above the highest connection. With this in mind, measure from the base of the flue up and mark where the liner should be cut.
Cutting a metal chimney liner requires some specialized tools depending on what type of material you are working with. The most popular materials for residential applications are stainless steel, aluminum, and galvanized steel liners. Each type has its own properties and installation instructions that must be followed closely for successful installation of your liner.
If you are working with a stainless steel liner, you can use an abrasive cut-off wheel or reciprocating saw compared to aluminum or galvanized steel which requires special cutting shears or a plasma cutter in order to assemble and customize each piece accordingly. It is recommended that pieces be cut at least 4″ larger than necessary because there may be obstacles that are not visible until after it is completely assembled so additional space allows easy adjustments when needed without having to recut entire sections of pipe or tubing.
Install the liner
Installing the liner yourself is a great way to save on chimney repair costs. But, keep in mind that this is not an easy job and you may need help from an experienced chimney contractor or the advice of a local fire inspector or building inspector to make sure that all the necessary steps have been taken correctly.
The first step to installing a chimney liner is to prepare the flue for installation. The flue must be clean and in good condition before starting the installation process. Any creosote buildup, damage, or other debris must be cleared from the flue before beginning work on installing the liner. It’s also important to make sure that there are no openings or gaps between bricks or mortar joints that could cause air leaks in the ducted system.
Next, measure and cut pieces of insulation board according to your measurements for an insulated smoke chamber area behind the fireplace. Once everything is in place and double-checked for accuracy, attach backing plates at each point where you will be installing your stainless steel chimney liner system. The most common method of attachment is by placing a length of string through bolt holes on each plate thoroughly secured with masonry anchors – such as a lag shield anchor or masonry wedge anchor – as well as screws along every joint where two plates meet up against each other end-to-end.
Once your backing plates are securely installed, place certified fireclay mortar around each one after it’s seated firmly against its respective wall (or “chip” section). This will ensure maximum durability of your liner by preventing unfired brick clay particles from clogging tiny crevices during expansion/contraction cycles caused by temperature changes over time inside your chimney flue system. Finally, it’s time to install your stainless steel liners into their respective openings using pre-cut sections that should fit snugly against walls and around corners as needed – but don’t forget about allowing an adequate overlap zone at each section juxtaposition! Secure them with at least three rows of masonry nails across their top edges before giving them a final quick inspection around edges/joints one extra time before moving forward with combustible fireplace ventilation grating installation process..
Secure the liner with mortar
As soon as the flu has been prepped, the next step is to secure the liner in place with a layer of mortar. This layer will ensure that the liner does not move during use and does not become damaged by shifting brick and stones.
To begin, mix one part sand to two parts mortar mix to create a paste-like consistency. The mortar you choose should be fire resistant and approved for use in chimneys. Carefully apply this mixture between the chimney wall and flue liner, ensuring that there is no gap or space where smoke can escape. Ensure that your layers are even throughout, wiping away any excess with a damp cloth or rag before it dries.
Once the mortar has completely dried, you are ready to continue on with instillation of your chimney liner — congratulations on reaching this stage of completion!
Seal the liner
Installing a chimney liner is an important safety step for proper maintenance of your chimney. Before sealing the liner, you will need to inspect it thoroughly to ensure that all pieces have been properly installed and there are no areas requiring any additional work.
Once you have done a thorough inspection, proceed to seal the liner. Make sure you use high-temperature silicone caulk and furnace cement in order to securely fasten the liner together in a permanent manner. Also, make sure that the silicone caulk and furnace cement are compatible with each other. Apply these materials around the joints of the pipe, being sure to fill all gaps. Allow this material ample time to dry before moving onto the next step.
Conclusion
Installing a chimney liner is a very important home improvement task. It ensures the proper ventilation of dangerous exhaust gasses and reduces the risk of heat damage to nearby combustible materials. When taking on such a task yourself, it is advisable to do your research, hire a professional inspector to examine the area, and find a qualified contractor if necessary. You should also consider different material options based on your budget and your local building codes.
Once you take the time to plan out your project and understand the details, you will be ready to install your chimney liner with confidence. Before tackling this type of installation by yourself, use these tips as guidelines for successful installation:
1. Gather all necessary supplies before beginning work.
2. Research code requirements specific to the job site’s location.
3. Measure carefully before cutting any pieces of liners or securing them into place.
4. Use caulk or sealant around any openings between pieces for added security and support of the liner system
5 Use mortar for final securement of sections into place at top and bottom
6 Consult with an expert if questions or issues arise during installation process
7 Pay close attention when drilling holes in areas near combustible materials